Friday, May 31, 2013

Carrot Raisin Mini Muffins

Muffins.  When did they go astray?  Look at the nutritional stats on any muffin wrapper these days and you find little nutritional value but lots of sugar, calories and fat.  Muffins are considered only as a cheat, treat by many.

Well, this recipe will change your mind about the role of muffins in your diet.   The ones below are accented with carrots and raisins and carry a hint of sugar and cinnamon.  These mini muffins make a great pairing with fruit for breakfast and are portable enough to let you indulge in one or two for an afternoon snack at work, after the gym or while running errands.

Before the recipe, a quick note about muffin batter.  It can be frozen before baking. Additionally, muffins can be frozen after baking and cooling.  I recommend freezing the remaining muffins that aren't consumed on baking day.  Otherwise, you will need to double the oil to keep them fresh.  


For these muffins you will need:

1/2 cup raisins, soaked in warm water for 10 minutes then drained
1 cup flour
1/4 tsp baking soda
1/2 tsp cinnamon
1/8 tsp nutmeg
1/4 cup roughly chopped carrots
1/4 cup sugar
1/4 cup olive oil

Before gathering your ingredients start the oven preheating to 350 and place liners into a 12 hole mini muffin pan.  Lining the muffin pan is a great job for little helpers.  

Now, combine flour, baking soda, cinnamon and nutmeg in a large mixing bowl.

Place carrots, sugar and olive oil into a blender or food processor until thick and creamy. 

Pour carrot mixture into dry and combine well.

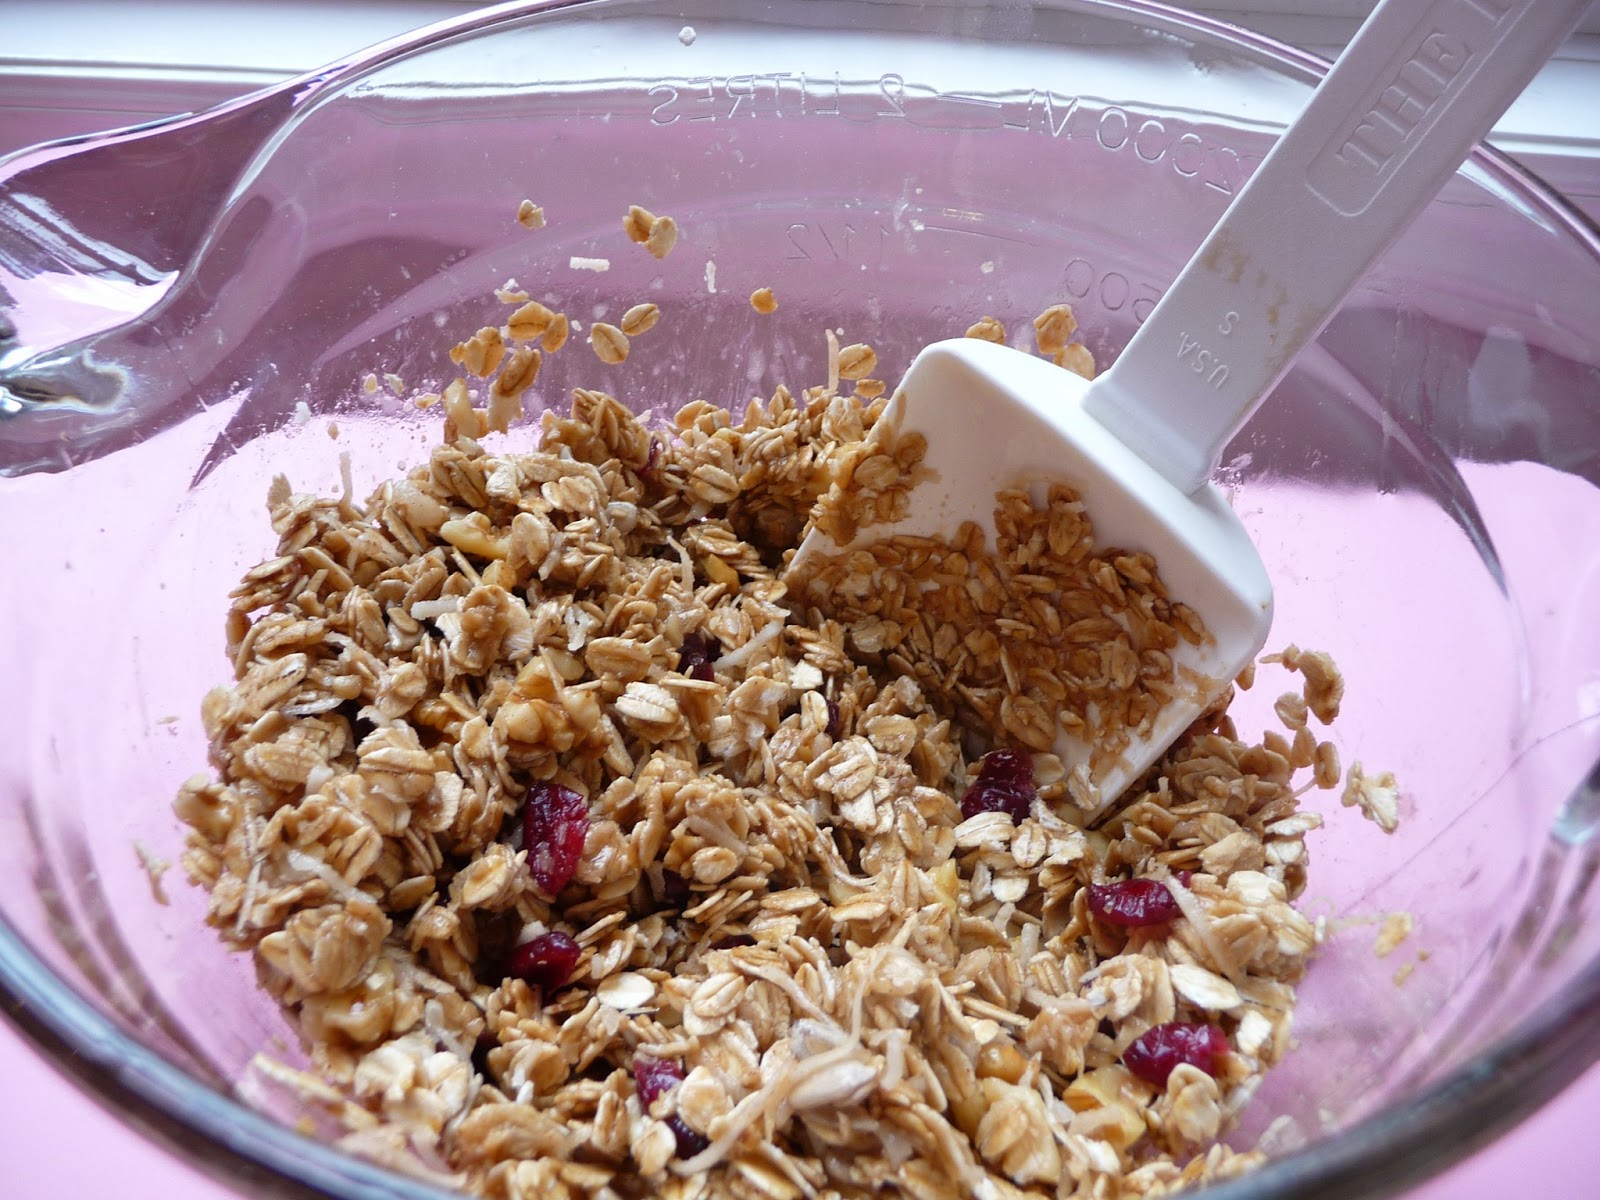
Gently mix in raisins until your mixture looks like this:


Spoon batter into muffin liners. (Batter should yield approximately 12 muffins.)


Bake for 15 minutes.  Remove from the oven and let sit for 4-5 minutes.  These are best warm but will keep all day.  


Monday, May 27, 2013

Summer Squash - Vegetable Stuffed Zucchini

My  husband and I attempted a garden on a few occasions.  For the most part, we were unsuccessful; we are really good at killing plants.  One year, we finally got zucchini squash to grow.  We had so much zucchini in our garden, I didn't know what to do with all of it.  I started searching online for zucchini recipes and came across a stuffed zucchini recipe that looked really yummy.  

Well, over the past couple of years I have modified the recipe so many times that it doesn't looked anything like the original version. 

Here is my version of a stuffed zucchini recipe.  I hope you enjoy it.


Ingredients:

2 Zucchini
1/3 cup Vegetable broth
2 cloves of garlic
1 cup chopped broccoli florets
¼ cup diced onion
¼ cup diced red peppers
2-3 baby bella mushrooms
¼ cup corn
1 tsp parsley
1/8 tsp ground pepper
2 teaspoons of grated Parmesan Cheese

Preheat oven to 400 degrees.  

Place foil on baking sheet

Cut zucchini in half, lengthwise.  Scoop out pulp, leaving 1/4 in shell. Chop pulp; set shells aside.

In a large nonstick skillet saute the garlic, broccoli, onion and red pepper in 1/2 the vegetable broth until tender, about 5 minutes.


Add remaining vegetable broth, mushrooms, corn, parsley, ground pepper, and zucchini pulp and sauté for about 5 more min.
Place zucchini shells on baking sheet.
Fill zucchini shells with vegetable mixture.
Sprinkle vegetables with grated parmesan cheese.  


Bake until lightly brown, about 7 minutes
Serve and ENJOY!


** Refrigerate any leftover vegetables for salads.

**Accent by adding cooked shrimp to the vegetable mixture for a couple of minutes before filling the zucchini shells. 


Thursday, May 23, 2013

C is for Cookie


Have you ever thought of following a vegan diet?  Or maybe have a need to go dairy-free but still want to indulge in delicious treats?   

First things first.  People that follow a vegan diet often refer to themselves as vegan.  What exactly is a vegan? Merriam-Webster defines a vegan as a strict vegetarian who consumes no animal food or dairy products.  Some vegans extend the concept past diet and exclude all animal products, such as leather. 

Why go vegan?  There are many reasons from concern about the welfare of animals to health issues, including allergies and intolerances. More recently, diet and weight loss has driven vegan diets into the mainstream with a crop of books released promoting it as the one way to get and stay skinny.

A well-targeted google search will provide you with more information than digestible in one sitting.  But, before you go off to google, let’s discuss some of the aftermath from my dappling into veganism.  Mainly, vegan baking.  That’s right; baking without eggs, butter or milk.  Impossible you say? 

Here let me show you….


Interested? 

These cookies are easy to assemble and bake, taking just a few minutes.  They make a great after school snack and are portable, making them easy enough to pack up and feed to the kids after the big game.  The maple syrup in them keep the consistency nice and moist; so they keep in the fridge all week.  Replacing the sugar with baking stevia trims down the sugar rush without sacrificing the taste. 

We are not huge fans of artificial sweetener but I don’t consider this brand of stevia a typical, chemical laden artificial sweetener.  The stevia used in these cookies is not the same mainstream variety commonly found in the grocery store aisles.  I’ve used the NuNaturals brand stevia for many years.  It is the only one I’ve found that doesn’t have a bitter aftertaste.  The baking variety has added fiber and is best used in cakes, cookies, pies, breads or any other baking that doesn’t require sugar to crystalize. 

And if you still aren’t convinced, stevia is a white-flowered tender perennial native to Paraguay.  You can grow it!  I bought a stevia plant at a local herb festival a month ago.  I’m hoping it will take so that we can bring you posts showing how it’s being used.

If you don’t want to use the baking stevia called for in this recipe, it is best to substitute with unrefined sugar.

For the cookies, here’s what you need:

Dry ingredients


¼ cup baking stevia
¼ cup mini chocolate chips
¼ tsp salt
1 cup flour
1 tsp baking powder
½ tsp baking soda
2 tbsp almond meal / flour
¼ tsp cinnamon
¼ cup maple syrup


Wet ingredients

¼ cup maple syrup
1 tsp vanilla
¼ cup olive oil
Up to 2 tbsp of water

Preheat oven to 350

Combine dry ingredients (stevia, chocolate chips, salt, flour, baking powder, baking soda, cinnamon and almond meal.) 


 Stir with a whisk or sift together.


Mix vanilla, olive oil and maple syrup.

Combine wet and dry until mixture is moist.  Add up to 2 tbsp water to obtain appropriate consistency.  

The mix should look like this....


Scoop and drop onto a cookie sheet lined with parchment paper. A medium scoop will yield approximately 10-12 cookies. 


Bake for 10 minutes.  Remove pan and let sit for 1 minute then transfer cookies to a wire rack to cool. 

Enjoy with a cold glass of milk....cow's milk or not...you decide....


Monday, May 20, 2013

Frittata to the rescue

Time is a precious commodity.  Last week, I was really feeling these words after yet another manic Monday that was really a Wednesday.  Did I mention it felt like the second or third Monday in a row?

You can relate.  We’ve all been there. 

On those days, preparing dinner is often the last task on the radar.  Even if you love to cook, cooking isn't fun when time is tight.  Some people opt to stop by the drive thru on the way home; others call for pizza delivery.  Both options have their place but I would like to offer you a third… the Frittata….

For reference, a frittata is the Italian version of an omelet.  Traditionally, frittatas are cooked stove top in a heavy skillet over low heat until firm.  This technique involves flipping, which might not be something you want to try.  Alternatively, some folks start the frittata on the stovetop but finish it off under the broiler in lieu of flipping; an easier option but still not the easiest. 

The easiest method involves starting on the stovetop and spending the bulk of the cooking time in the oven.  Sure it’s unconventional but it’s easy, quick and gives you an opportunity to sit back and chat with family and friends while dinner is cooking. 

Another thing that frittatas have going for them is their versatility.  Eggs is just about the only constant in the non-traditional, baked frittata.  

The frittata made the other night and described below used ingredients already on-hand, consisting of pantry staples and leftovers from other recipes. 

Here’s how it went…

Ingredients:
1 shallot, peeled and chopped
1 cup of rainbow chard, washed and cut into 1 inch strips
6 eggs
1/4 cup of milk (I always use 1%)
Handful of fresh thyme, washed and dried. 
1/4 cup shredded parmigiano reggiano
1/8 tsp salt
Sprinkle of pepper
1 can (6 oz.) wild sockeye salmon (highly recommend Kirkland brand - skinless and boneless)
2 tbsp olive oil

**Quick note about cheeses – If you spend a little more for quality, flavorful cheese, you will find that less is needed for full, robust flavor. **

Preheat oven to 350

Whisk the eggs, milk, salt and pepper in a large mixing bowl.  Break apart the salmon into bite sized pieces, ensuring all skin and bones are removed.  Gently combine the salmon, cheese and thyme into the egg mixture. 

Heat olive oil in a 9 inch oven safe skillet on the stovetop over medium-high heat.  Add the shallot and heat until fragrant (about 4 minutes) then add the chard; stir lightly.  Let the chard wilt a bit; approximately 3-4 minutes.  Pour egg mixture into skillet and turn off the stove eye.  Cook for 2 minutes. 

Move the skillet into the oven and bake until the dish is set and slightly puffy.  Approximately 20 minutes.  Remove and cool for 5 minutes, then loosen edges and slice into pie-shaped pieces. 

And here you have it….


Leave us a comment and let us know your variation.  We are always looking for new versions to try.


Friday, May 17, 2013

Broccoli Chips

When fresh, seasonal broccoli is available, frozen varieties exit the stage at our house.  The entire family devours the florets with enthusiasm. As we all know, a family that eats broccoli brings a smile to even the most frazzled moms.

But, there was a downside.  No one ate the stalks.  Week after week, money was being tossed into the trash.  Endless googling was fruitless.  Friends and family had no suggestions. 

Then in our kitchen, a solution was born....broccoli chips.


Let these guys be the solution in your house too.  

It is as easy as.....

Ingredients:

2 broccoli stalks

2 tbsp olive oil
1/4 tsp garlic powder
1/4 tsp onion powder
1/8 tsp black pepper


Preheat oven to 425

Lightly oil a baking sheet with 1 tbsp olive oil
Thinly slice the stalks and place on the baking sheet
Sprinkle with garlic powder, onion powder and pepper
Drizzle the remaining olive oil on top 
Stir to coat
Arrange in a single layer


Bake for 15 minutes, stirring about half way through at 7 minutes.

**For extra crispy chips, leave in 5-7 minutes longer.  Just keep an eye on them and sample often.**

See wasn't that easy?


Try them for yourself, then leave us a comment!

Monday, May 13, 2013

Snack Time - Granola

Kids need snacks.  And, the inner grocery store aisles are filled with convenience snacks to fulfill that need but along with the convenience can come high sodium, trans fats and mommy guilt.  The solution in our house this weekend was a batch of granola.

Our version is an adaption from a recipe found in Whole Grains cookbook that accompanies the Vitamix dry container.  The appeal of this granola recipe is no oil, no stove top heating and minimal cooking time.

And here's how it went...

Preheat oven to 350

Dry ingredients:

2 1/2 cups rolled oats
1/4 cup raw sunflower seeds (hulled)
1/4 cup coconut flakes'
1/4 cup chopped walnuts
1/2 cup dried cranberries


**Side note:  If you haven't embraced weighing your dry ingredients, give it a try.  The digital ones are becoming readily available and are more economical than ever before. Weighing ingredients (when appropriate) is time saving and super easy.**


Combine dry ingredients in a large mixing bowl.


Meanwhile combine the following wet ingredients in a blender:

1/4 cup honey
1/4 cup of packed brown sugar
1/4 cup of hot water
1/2 teaspoon sea salt
1 teaspoon vanilla extract
1 teaspoon cinnamon

If you don't have access to a high power blender that will heat the liquid, blend wet ingredients then pour into a microwave safe bowl; heating in the microwave until warm but not boiling.

Blend until steamy.


Pour wet into dry and stir.


Spread into a 9 x 13 baking dish

Bake at 350 for 15 minutes; stirring every 5 minutes.


Store cooled granola in a jar or large storage bag.


Granola is great mixed in yogurt, eaten cereal-like with a little milk, sprinkled atop muffins or
pancakes or anywhere else you want a little crunch.  It is also excellent all by itself.

Enjoy!